
Roof Inspection in the USA
Alameda Peak Roofing technicians begin a Roof Inspection by accessing the attic space first. They look for daylight through deck boards, check rafter spacing, and measure moisture levels in insulation with a meter. Any soft spots in the deck get marked on a diagram so the homeowner sees exactly where support may be failing.
Next the crew moves to the exterior and records slope direction, valley metal condition, and penetration boots around vents. They lift select shingles to inspect nail placement and felt layers underneath. All observations stay in a written report that lists material types present and notes any separation at ridge vents. Alameda Peak Roofing covers roof inspection information on the homepage to help USA residents decide next safe actions promptly.
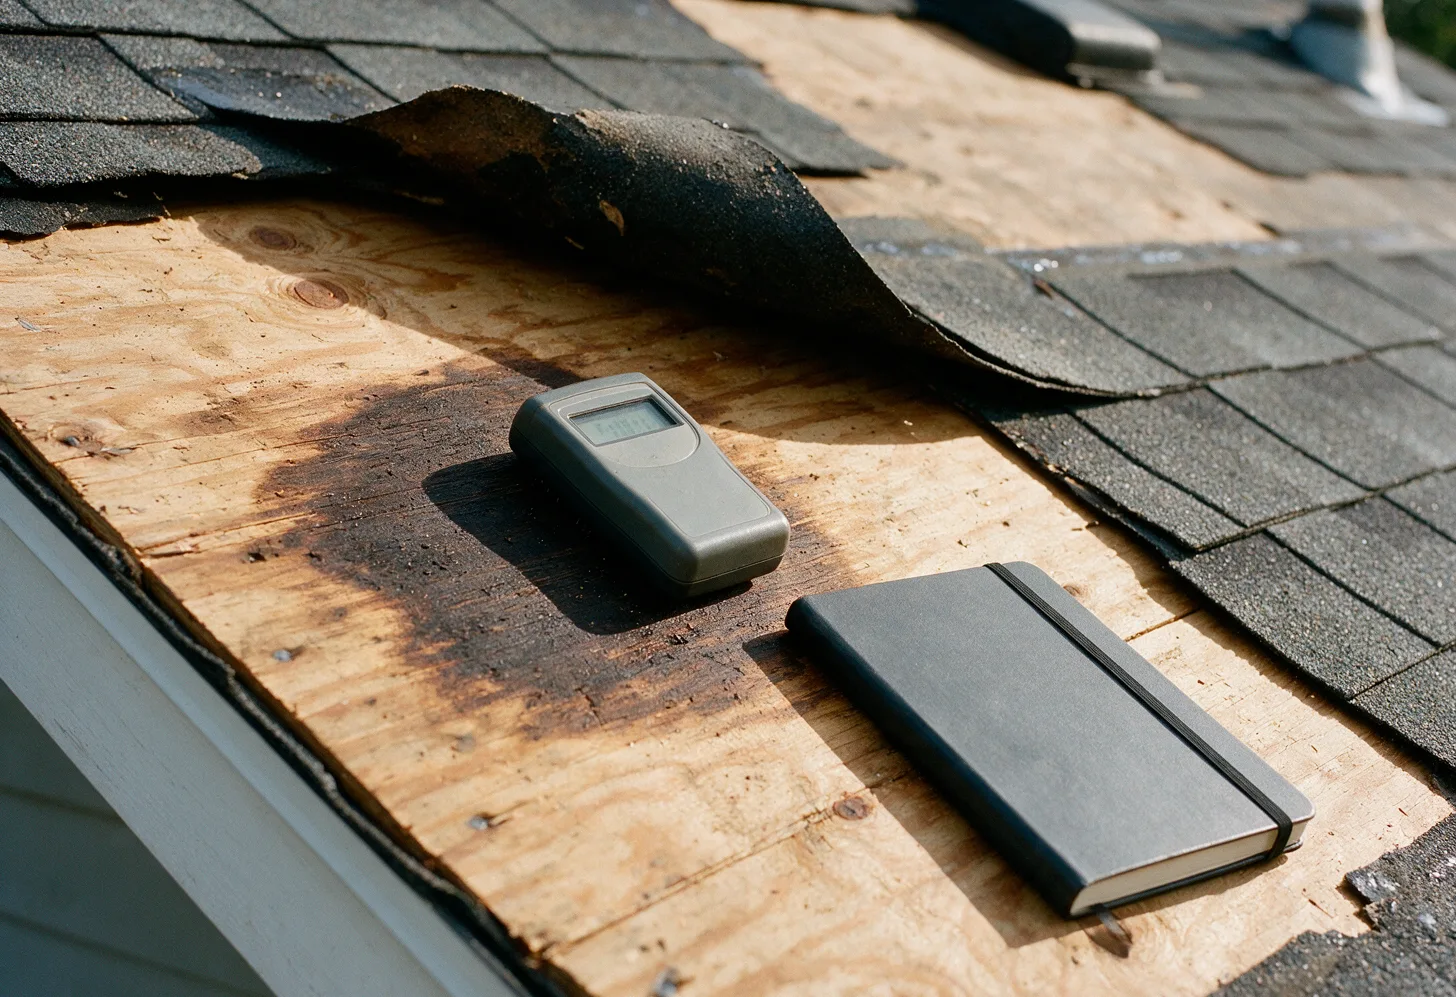
Warning Signs During Roof Inspection
- Dark streaks on shingles indicate granule loss from UV exposure.
- Sagging along the ridge shows rafter movement or decay.
- Rust lines on flashing point to failed sealant joints.
- Curling shingle edges allow wind-driven rain underneath.
- Water stains on ceiling drywall track from valley leaks.
What Technicians Measure on Site
Our technicians use a moisture meter on decking and rafters to record readings above fifteen percent. They also check for proper overhang at eaves and record the number of layers already installed. These measurements help determine whether the existing structure can support new material without added weight.
Flashing thickness gets checked at every wall intersection and chimney. Technicians probe for soft spots around pipe boots and record the condition of step flashing overlaps. Any nail that has backed out gets noted so the source of movement can be addressed during later work.
Ventilation paths are traced from soffit to ridge. Blocked intake vents or missing ridge cap sections reduce airflow and raise attic temperatures. The report lists each vent size and location so airflow calculations can be verified later.
Common Causes Found During Inspection
Thermal expansion and contraction loosen nails over time and allow shingles to lift. Ice dams form when heat loss melts snow that refreezes at the eaves, forcing water under shingles. Both issues appear as raised edges or displaced granules during the inspection.
Improperly installed underlayment leaves gaps at seams where water travels along the deck. Valley metal that lacks proper kickout diverters lets runoff run behind siding. Technicians trace each water path back to its entry point and photograph the sequence.
Tree limbs rubbing against the surface wear away protective coating and create channels for water. The inspection records limb clearance distances and notes any moss or lichen growth that retains moisture against the shingles.
Repair and Replacement Options
When only localized damage appears, technicians can replace individual shingles and reseal flashing joints with compatible mastic. For multiple layers or widespread granule loss, a full tear-off allows new underlayment and shingles to be installed over a clean deck.
Flat sections may receive a reinforced membrane system after the inspection confirms the slope and existing insulation condition. Tile roofs can have cracked or slipped units replaced with matching pieces and new foam or mortar set at the eaves.
Flashing repairs often involve removing old counter flashing, installing new step flashing, and re-securing the counter piece with appropriate fasteners. Each option is listed in the report with the materials required so the homeowner can compare approaches.
What Homeowners Can Check First
From inside the home, shine a flashlight along attic rafters and look for dark rings around nails or wet insulation. Note any musty smell near gable ends. These observations help the technician focus on the correct section of roof during the visit.
Outside, walk the perimeter at ground level and look for shingles in the yard after high wind. Check gutters for accumulated granules, which indicate wear. Do not climb onto the roof or attempt to lift shingles yourself.
Photograph any interior ceiling stains and mark their locations on a simple sketch. Keep the photos and sketch ready so the inspection can begin with clear reference points rather than searching for the source of each mark.
Roof Inspection questions
How long does a Roof Inspection take?
The time varies with roof size and access. Technicians measure deck moisture, inspect flashing overlaps, and document ventilation paths. Most inspections finish within two to three hours once attic and exterior access are complete.
What happens if the inspection finds active leaks?
Technicians record the entry point and temporary measures the homeowner can take until permanent work begins. They note the materials needed for a lasting repair so the report lists clear next steps without creating new openings during the inspection.
Can the inspection identify the number of existing layers?
Yes. At selected test areas the crew lifts shingles and counts layers down to the deck. This information appears in the written report along with the condition of each layer and any separation between them.
Does the inspection cover ventilation calculations?
Technicians trace intake and exhaust paths and record vent sizes. They note any blocked soffit sections or missing ridge vents. The report states current airflow conditions so proper balance can be restored if needed.
Schedule Roof Inspection
Contact Alameda Peak Roofing to arrange a Roof Inspection that documents every measured condition and material detail across the USA.